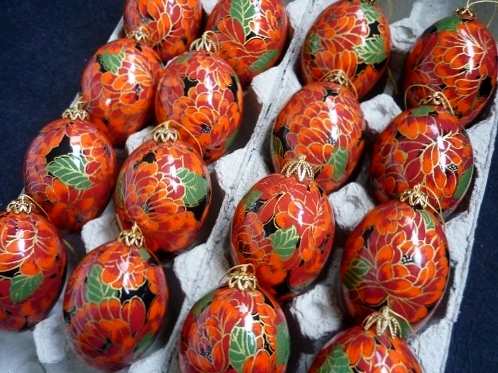
My current work in progress is 16 washi covered eggs that I will make into Christmas ornaments. I've now got 13 eggs covered. (These photos don't do the paper justice.)


For information on how I make washi covered egg ornaments see
http://pinwheelponders.blogspot.ca/2009/03/some-thoughts-on-washi-decoupage-eggs.html
(After I finish this project I plan to update that page.)
November 20 2014
All 16 eggs now have at least 7 coats of dilute decoupage medium and once I give them a quick buff with super fine sandpaper they'll be ready for the final coat.
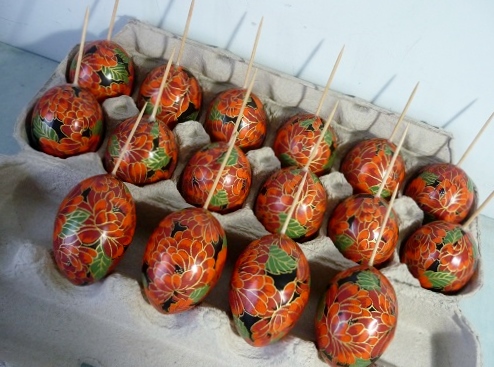
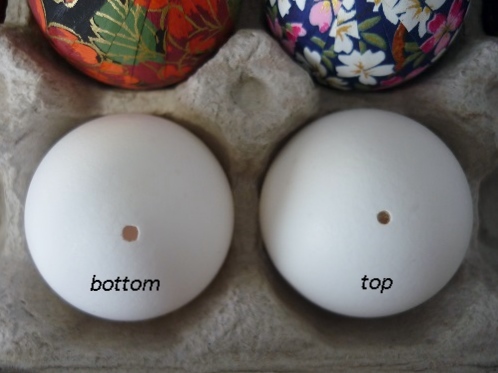
Someone asked about how I make my holes. In the past I have pierced a circle of tiny holes and then chipped out the center circle. This time I am using my set of 100 mm needle files. I start with the circular file but the resulting hole isn't quite large enough for a toothpick so I enlarge the top hole with the square file and the bottom hole with the slightly larger triangular file.
November 25 2014
Letting the final coat dry out well before I remove the toothpicks.

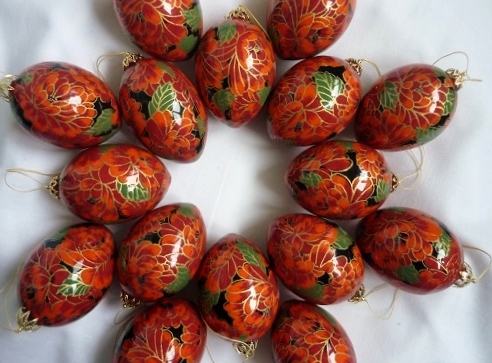
My camera got the colours right on the next photo!
November 28
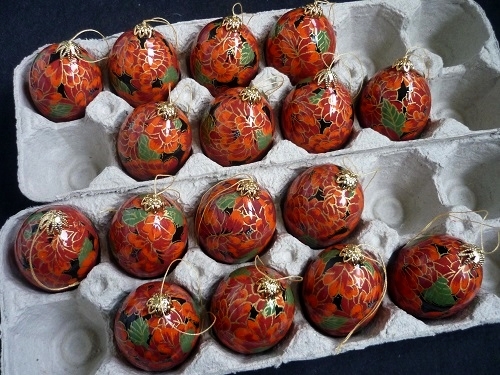
All done! (My camera/ image software really washes out the colour of some of these egg carton photos. I'll have to try to fix them when I get the time.)


December 13
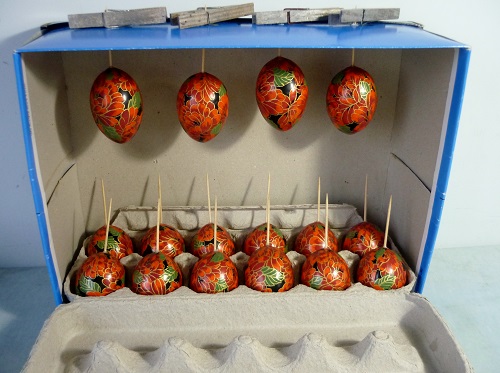
Today I finally got a chance to do the gloss coat on seven eggs I made for my own collection.
To speed up the process I hung up four of them and poked the other three into a styrofoam block. (And then I began to put away all the supplies that have been crowding my desktop for 2 months!)
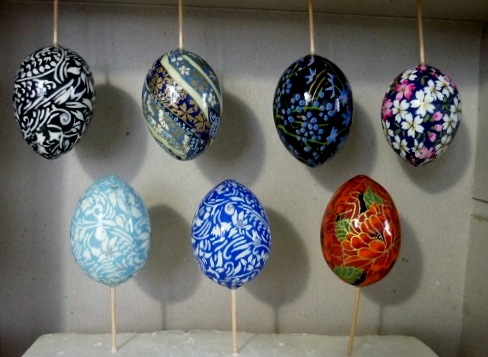
For the last two ornaments I got brave. Usually my base (before sanding and the gloss coat) is 8 or 9 coats of decoupage medium that has been diluted with equal parts of water. This time my base was 3 coats of full strength decoupage medium applied with a wet brush followed by 2 coats of dilute decoupage medium. The result was the same but the process was a lot faster.
Note to self. The papers I used were from The Paper Place. (From left to right and top to bottom)
745CT, 481C, 480CL, (? from SF),
709CL, 865CT and 117C
Saturday December 20 2014
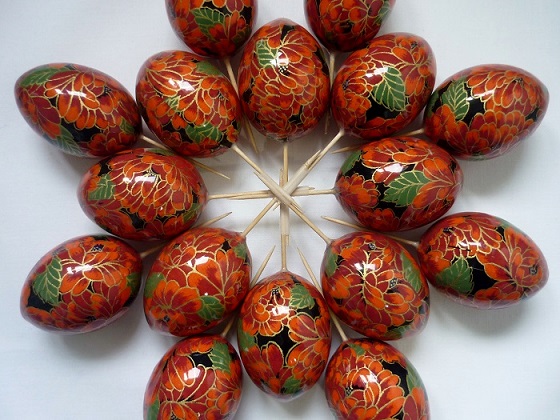
Well I left the eggs to cure ... and got pulled into a vortex of other projects. Today I decided that I just had to get them off my desk so I removed the toothpicks...


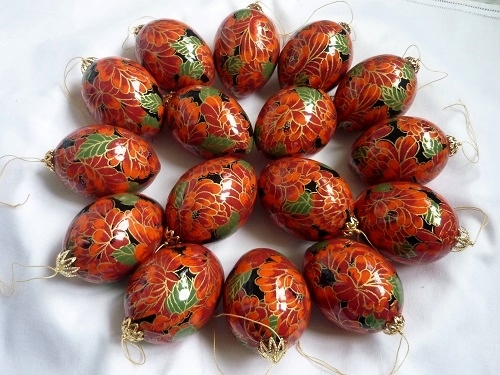
... and introduced the new eggs to the old eggs.

And now I can finally put my sewing machine back on my desk!
Amazing lot of patience to do this.
ReplyDeleteThe waiting is what requires the most patience. If I could have convinced myself to waste the egg contents, instead of only emptying eggs at the same rate that we consumed eggs, the project would have progressed a lot faster! And now that I know that I can apply fewer but thicker coats of decoupage medium and still get a brush stroke free finish it will require less patience.
DeleteFortunately the most fiddly bit, applying the paper to the egg, takes patience but not a lot of time.